
Homemade Marshmallows
I've had a recipe for homemade marshmallows that I have wanted to try for about, oh, five years... But, the wait is over! The clouds have opened and rained upon me delicious fluffy goodness. No more of the store bought-preservative-packed fluff! Homemade is SO much better! (As it is, with pretty much everything). They are simple to make, and don't require a lot of ingredients, just close attention to temperature, and caution with very hot liquids.. And a lot of patience and trust! But, it's pretty magical if you ask me!

Homemade Marshmallows
You make them into a marshmallow fluff, and they have to sit over night before you can cut them up and eat, so make sure you plan accordingly. I will go through each step in detail for this, because I'm sure it's new to you, and can get a little scary!

Homemade Marshmallows
Original recipe from the cookbook "Family Meals" by Maria Helm Sinskey
Marshmallow Recipe:
1/4 cup cornstarch
1/2 cup powdered sugar
Candy Thermometer
11x9 inch baking pan
aluminum foil
canola oil for pan
1 1/2 Tb unflavored gelatin
1/4 tea. salt
1/4 tea. cream of tartar
1 1/4 cup sugar
1 Tb. light corn syrup
1 tea. vanilla
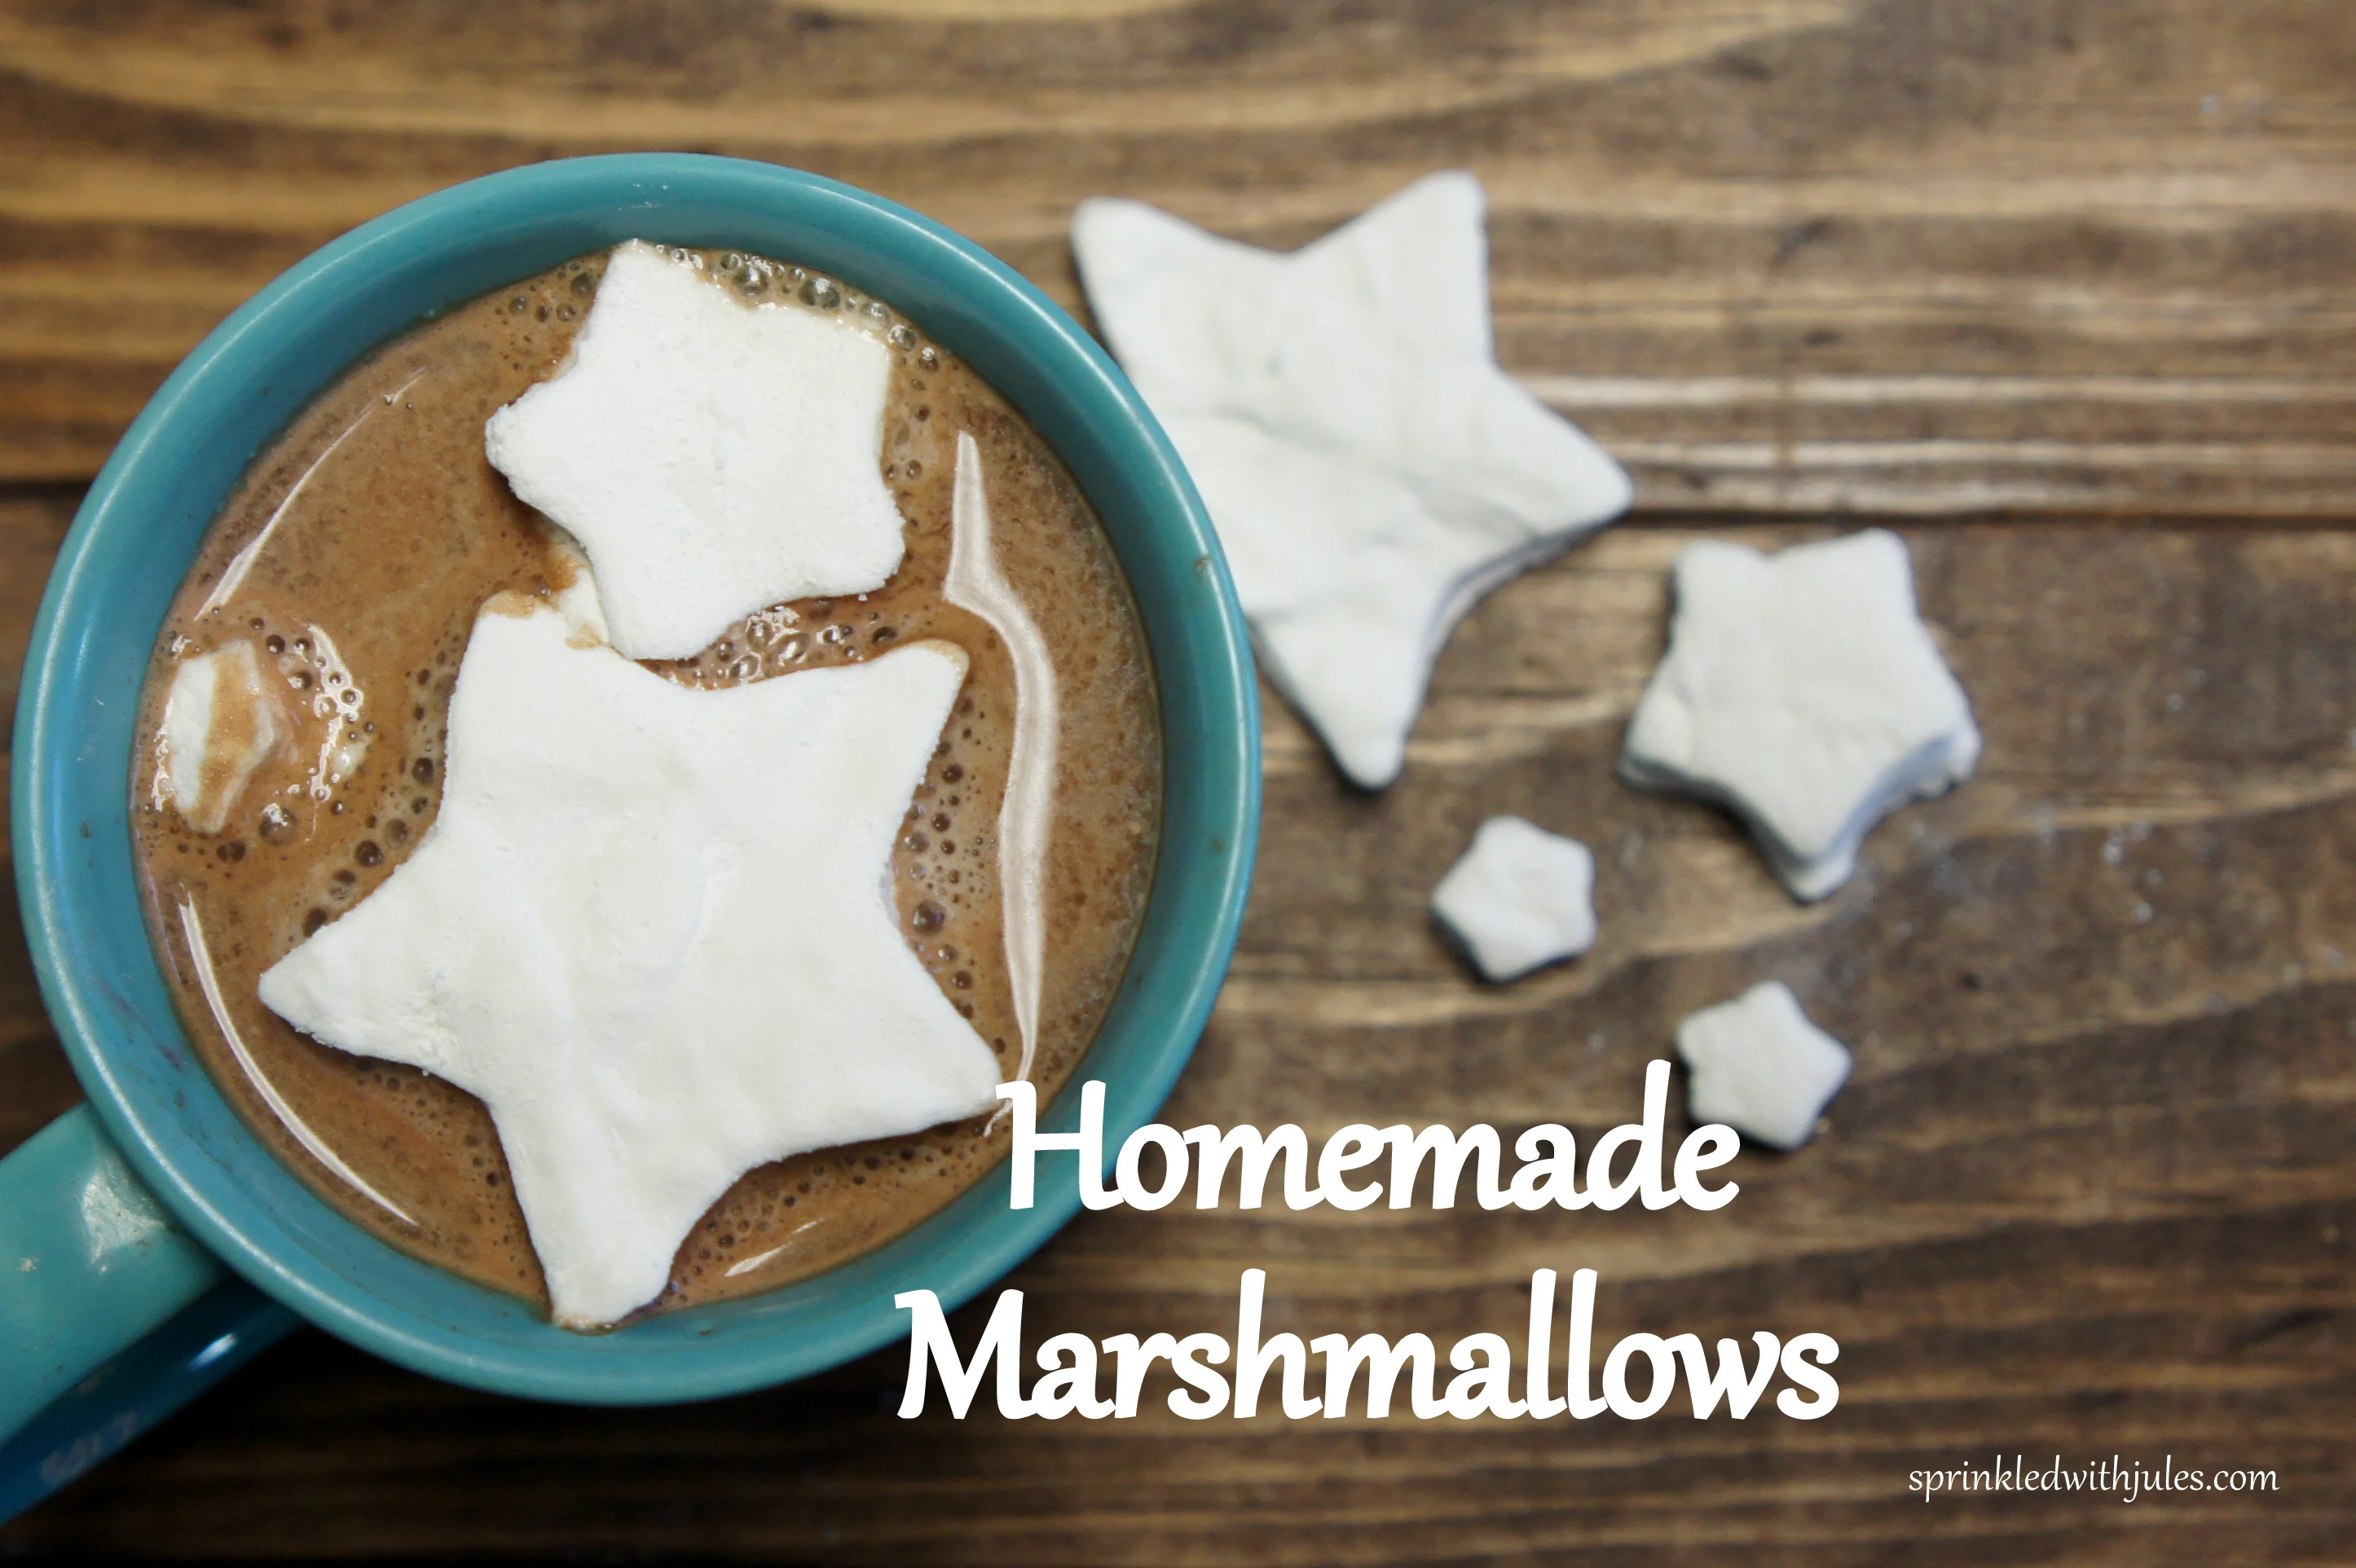
cookie cutters (I used stars)
1. In a medium bowl, sift together powdered sugar and cornstarch. Line the pan with the foil, and use oil to coat the foil. Sift 1/4 cup of the flour mixture into the pan and tilt around to get all of the sides and bottom coated. Leave the excess on the bottom.
2. In the bowl of a stand mixer, pour in 1/2 cup water. Then sprinkle the gelatin on the water, and whisk it in. Let it sit for 5 minutes to soften.
3. Whisk in the salt and cream of tartar, and beat on high until fluffy, about 3 minutes.
4. Combine sugar and 1/2 cup water in a medium saucepan. Bring to a boil, stirring until it reaches a boil. Let it cook, without stirring, until it reaches 250 degrees (firm-ball stage).
*It is really important to have a good candy thermometer at this point. The temperature can make or break you.
5. As soon as it reaches 250 degrees, remove from the heat and CAREFULLY, and SLOWLY pour into the gelatin mixture with your mixer on.
6. Turn the mixer on high, and let it beat until your mixture is white and thick (about 5 minutes). Then add the vanilla.
*This part takes patience! You may think you've failed at marshmallows, and life even, at this point when your mixture is slushy, a little brown, and smells funny, but don't worry! Just trust in your marshmallows and be patient!! Soon, magic will happen, and it will become marshmallow fluff!
7. Continue to let the mixer run on high and beat it until it cools, about 20 minutes.
8. Once it has cooled, dump into your prepared pan and use an offset spatula to spread around.
*It helps to dip the spatula in cold water each time you use it so the fluff won't stick to it.
9. Once it is smooth, let it sit for about an hour so a skin can form on the top.
10. Then dust with 1/4 cup of your powdered sugar mixture, and let it rest overnight at room temperature.
11. Dust your work area with your powdered sugar mixture and carefully remove your marshmallow sheet onto your work surface. You can use cookie cutters to create shapes, or cut into squares.
Store in a sealed container for up to 2 weeks.
Decorate with melted chocolate, and of course, sprinkles!

Homemade Marshmallows

